|
|
|
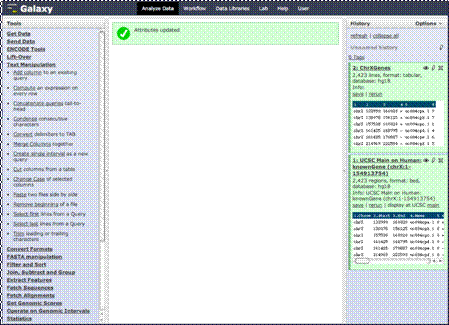
Once you do that,
you’ll notice that the name has changed in our history. Also notice we have
the 6 columns we wanted in the order we wanted them.
|
|
|
|
We are going to do
that throughout this tutorial without actually showing that step, so if you
are following along, you’ll notice that some of our history names are a bit
different than the original default name. If you do, just do this step and
change the name.
|
|
|
|
Now, many times the
data is not the type that you need. If you remember, when we downloaded our
UCSC dataset we saved it in browser extensible data, or BED format. However,
for the next part of our example we are going to want it as “Interval” data.
This is a simple format of chromosome intervals that has chromosome location,
gene name and strand.
|
|
|
|
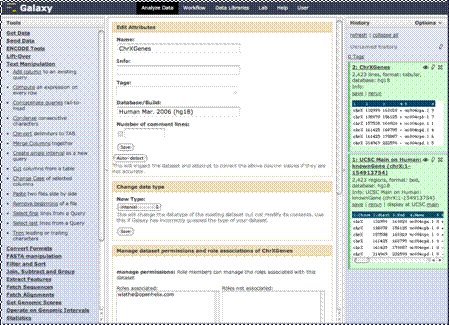
We can do that in
the attributes editing menu. Just click the pencil icon again.
|
|
|
|
You’ll notice below
the “Edit Attributes” section, there is a “Change data type” section.
|
|
|
|
There are dozens of
types of data formats to change to. We are going to change ours to “Interval”
data by selecting “interval” in the pulldown menu.
|